|
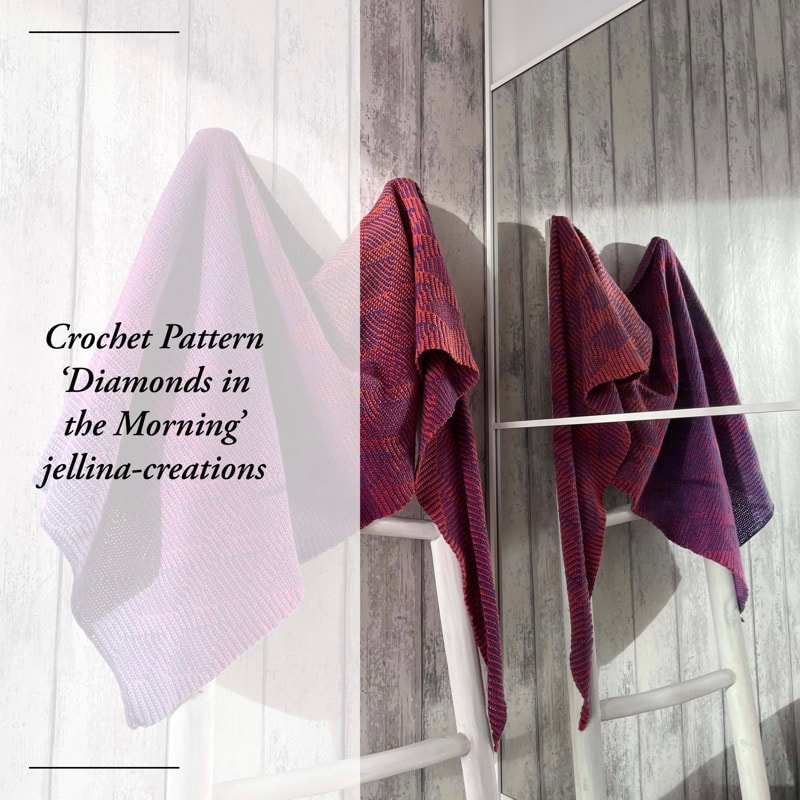
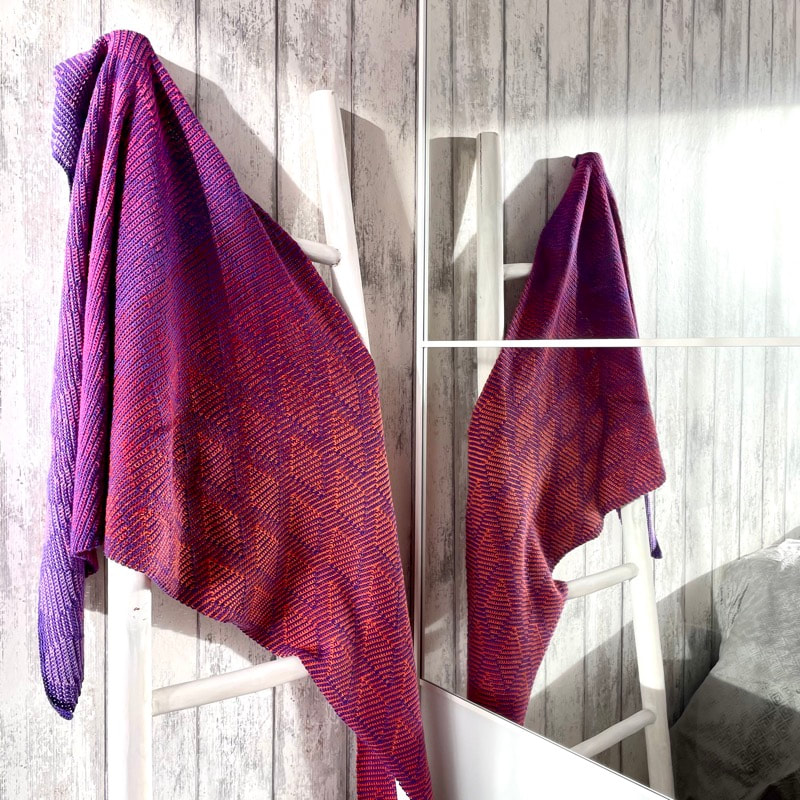
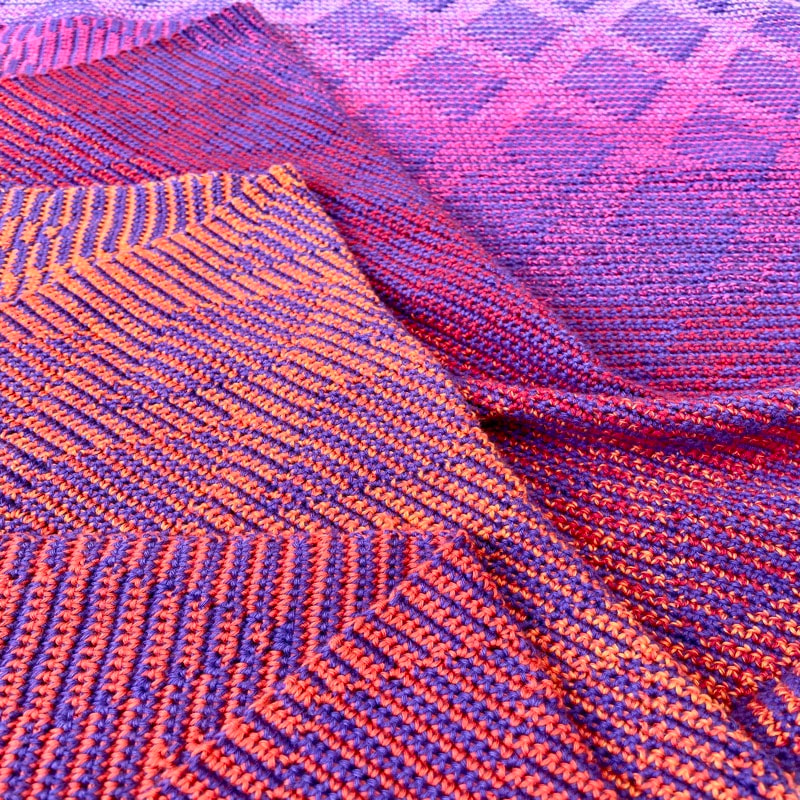
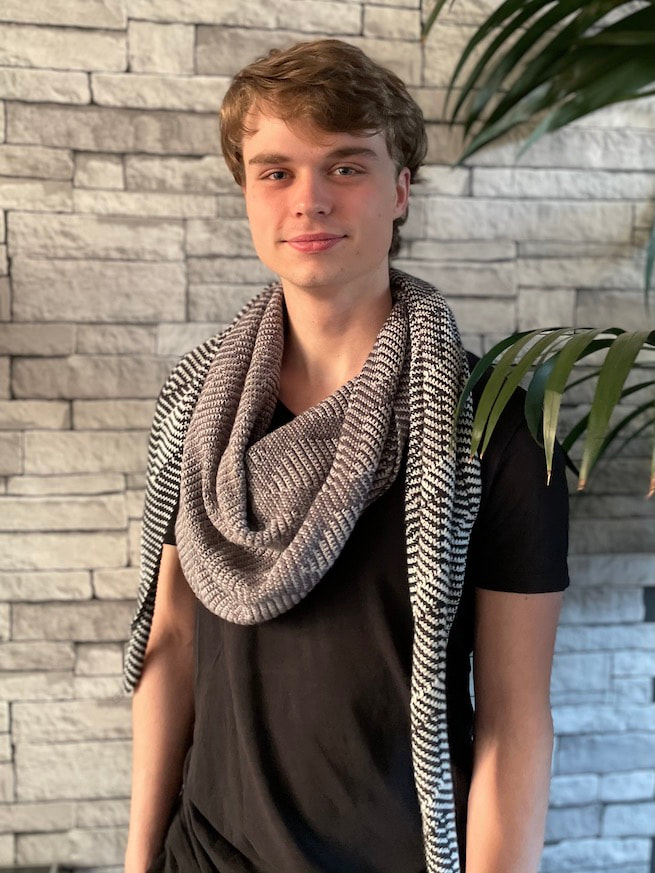
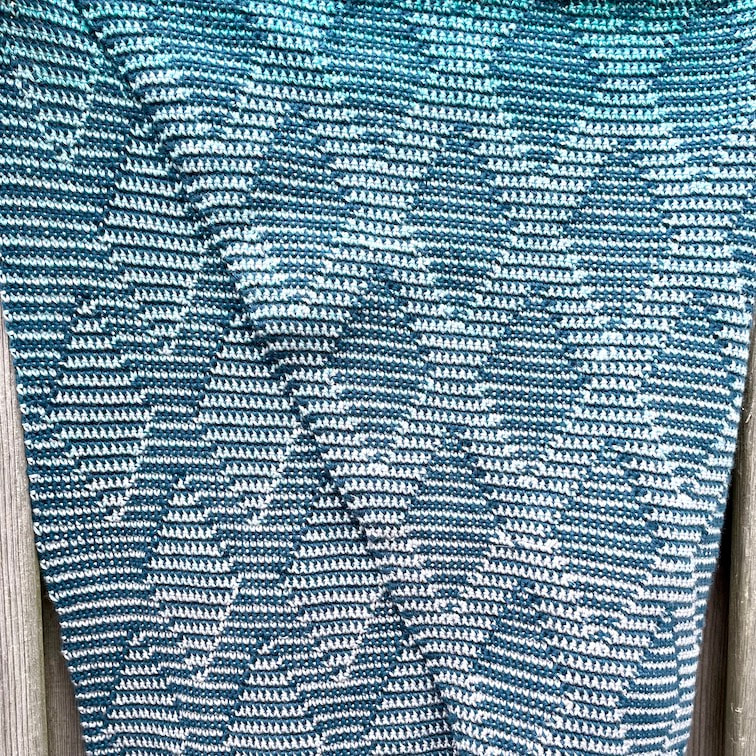
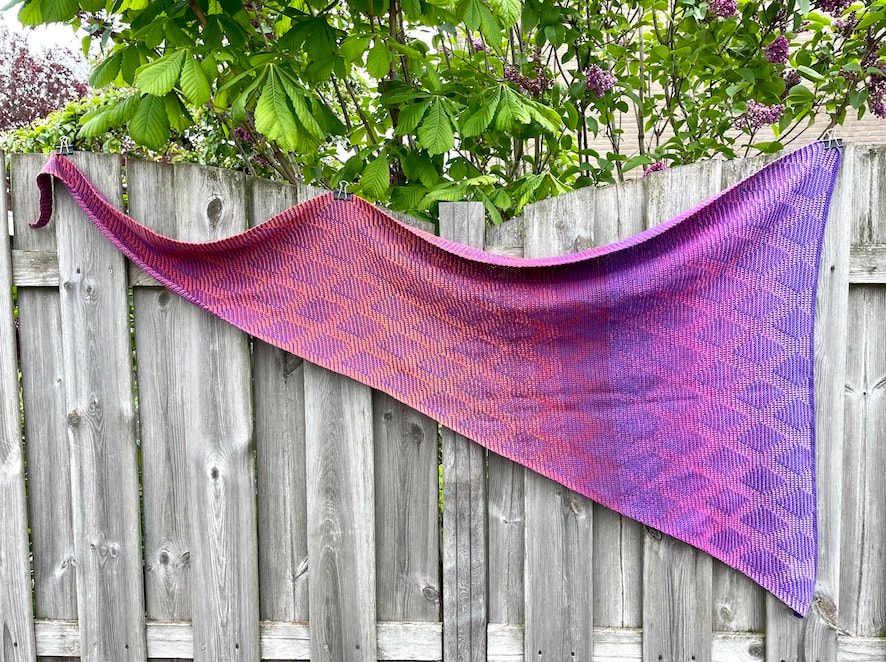
I proudly present: Diamonds in the Morning! Diamonds in the morning is a shawl from my Illusion series. She got her name from the diamonds which appear frequently in this pattern. Also from the yarn! The Scheepjes Whirl which I used for the prototype is called Red Velvet Sunrise. Sunrise, morning, and diamonds… and Diamonds in the Morning was born! --------------------------- Met trots stel ik jullie voor aan: Diamonds in the morning! Diamonds in the morning is weer een shawl uit mijn Illusie serie. Ze dankt haar naam aan de ruiten die veelvuldig voorkomen in dit patroon. En het garen, de Scheepjes Whirl welke ik gebruikte voor het prototype heet Red Velvet Sunrise. Sunrise, zonsopkomst, ochtend en dat op z'n Engels et voila 'Diamonds in the Morning' is geboren! Like I said, this is once again a shawl from my Illusion series. This technique is comparable to illusion knitting, but the illusion effect is a bit less when crocheting. With illusion knitting, you only see the image when looking from a certain angle. When crochet knitting, you can see the image from any angle. The base is basically just tapestry crochet (single crochets through both loops!) But the effect is so much better, so I will just call it illusion crocheting. When looking at the shawl from different angles, there seems to be some kind of movement in the images. Moreover, the shawl looks great on both sides! On the one side, colour A is dominant, while on the other side, colour B dominates. The pattern of this shawl is asymmetrical, which means that you will start with 2 stitches and only increase on one side. In this way, the shawl grows with 1 straight side and 1 side which slants. This is great, because it will open up many ways to wear the shawl, with or without shawl pin. However, if you would prefer a straight shawl, you could make one based on the description and the schemes. This is for the more experienced crocheter, as it can be a bit difficult to figure out. ----------------------------- Zoals ik al zei dit is weer een shawl uit mijn illusie serie. Deze techniek is te vergelijken met het schaduw breien, met het verschil dat het effect iets minder is dan bij breien. Bij schaduw breien zie je de afbeelding alleen vanuit een bepaalde hoek, bij het haken zie je de afbeelding ook gewoon als je hem van voren bekijkt. De basis is eigenlijk gewoon tapestry haken, en dan niet zoals de mochilla look-a-like tassen, maar gewoon vasten door beide lusjes. Maar het effect is zeker anders dan gewoon tapestry haken, vandaar ik het illusie haken noem. Wanneer je de shawl vanuit verschillende hoeken bekijkt lijkt er beweging in de afbeeldingen te zitten. Bovendien zijn beide kanten van de shawl mooi, bij de ene kant is kleur A het meest dominant en bij de andere zijde is dat kleur B. Het patroon van deze shawl is a-symetrisch, dat wil zeggen dat je met 2 steken begint en steeds maar aan 1 kant meerdert. Op deze manier groeit de shawl met 1 rechte kant en 1 kant die schuin wegloopt. Ikzelf vind dit een hele fijne vorm omdat er diverse manieren van dragen mogelijk zijn, al dan niet met behulp van een shawl speld. Maar met behulp van de beschrijving en de haakschema's is voor de iets meer ervaren haakster dit patroon ook makkelijk om te zetten in een rechte sjaal. I made the prototype out of 1 ball Whirl Red Velvet Sunrise 764 and 2 balls Whirlette Açai Berry 888. The Sunrise has a delightful gradient starting from purple, going through red and orange until it reaches a light purple. To contract this, I used the purple Açai Berry. I personally left out 2 colour changes from my Whirl because I felt like these colours were too close to the Whirlette’s colours, which would decrease the nice effect. This didn’t cause any trouble, as you’ve got a bit more of the Whirl (1000m) than the Whirlette (2x455m) anyway. So these 2 modifications won’t change anything to the pattern. What I’m trying to say is that in order for the effect to work, you should have enough contrast to actually see the diamonds pattern! The shawl will eventually turn out 170cm x 88cm. Below you can see the baktus version with 2 Whirls, the liquorice yumyum 751. To create this, I followed the pattern until row 291 and follow the pattern backwards. In this way you will end up with a triangle scarf with the long end being 244cm and the short end being 50cm. These dimensions are ideal for wearing the shawl like my middle son does on the picture below. Making the shawl with 2 Whirls, just like how you see it, is very inefficient. I used 330 grams of yarn in total, so I took out about 150 grams of gray. The gray shades were too close to each other and I didn’t want the shawl to be too long. One piece of advice if you want to go the baktus route: Take 1 Whirl and 1 Whirlette and make sure that the Whirlette is a starting or ending colour of the Whirl. Once the Whirlette is used, you can use the start (or the end) of the Whirl to replace the last bit where you would have used the Whirlette. ------------------------------ Het prototype haakte ik met 1 bol Whirl Red Velvet Sunrise 764 en 2 bollen Whirlette Açai Berry 888. De sunrise is een heerlijke verloop bol met paars, rood, oranje, lila en als contrast had ik de paarse Açai Berry. Ik heb zelf 2 kleurwissels van mijn Whirl ertussen uitgehaald omdat deze kleuren te dicht bij de kleurstelling van de Whirlette lag en ik vond dat hierdoor het effect wat verloren ging. Dit is verder ook geen probleem want je hebt in verhouding iets meer Whirl (1000 meter) dan Whirlette (2x 455 meter), dus die 2 kleurwissels veranderd niks aan je patroon. Wat ik hiermee wil zeggen is dat je voor voldoende contrast moet zorgen om het patroon van de ruiten duidelijk te kunnen zien! De shawl wordt uiteindelijk 170cm x 88cm Hieronder zie je een baktus versie met 2 Whirls, de liquorice yumyum, 751 Bij deze baktus heb ik het patroon gevolgd tot toer 291 en toen ben ik het patroon weer terug gaan volgen. Op deze manier krijg je een driehoeksjaal met een lange draag lengte (244cm) en een korte punt lengte (50cm), ideaal om te dragen zoals mijn middelste zoon doet op de foto hieronder. Deze sjaal zoals je hem zo ziet (met 2 whirls) is absoluut niet efficient. Ik gebruikte in totaal 330 gram garen en haalde dus ongeveer 150 gram grijs ervan tussen. Omdat deze grijstinten elkaar overlapte en omdat de sjaal als ik al het garen zou gebruiken wel heel erg lang zou worden. Mijn advies is als je voor een baktus versie wilt gaan: Neem 1 Whirl en 1 Whirlette, waarbij je een whirlette neemt in een begin of eind kleur van de Whirl. Zo kun je als de Whirlette op is verder gaan aan de binnen of buiten kant van de Whirl. Below you can see another picture (this shawl is crocheted by my tester) where you can clearly see the differences between the front and the back. On one side the background is dark and the diamonds light, while on the other side it’s the other way around. ------------------------------ Hieronder nog een foto (shawl gehaakt door mijn tester) waarbij je goed het verschil tussen de voor en achterkant kunt zien. Bij de ene kant is de achtergrond donker en de ruiten licht en aan de andere kant is de achtergrond licht en de ruiten donker. And the last picture. Here she is, hanging in all her glory under the butterfly bush of my neighbour. If this doesn’t cheer you up, I don’t know what will! I really hope you love this shawl as much as I do, and I would love to see all your colour combinations! I’m also curious to see whether you’ll be making the original (asymmetrical) shawl or that you’ll be using my pattern and go for the Baktus or straight scarf! Will you keep me posted? I love photos! Please mail them to me or share them on social media and tag me with #jellinacreations Ravelry ---------------------------------- En dan nog 1 foto om het af te leren. Hier hangt ze in volle glorie onder de vlinderstruik van de buurvrouw. Als je hier niet vrolijk van wordt dan weet ik het ook niet meer! Ik hoop dat jullie deze shawl net zo mooi vinden als ik dat doe en ik ben heel benieuwd naar jullie kleuren combinaties! En ook of jullie voor het orgineel gaan, dus de a-symetrische shawl of dat jullie mijn patroon als leidraad gebruiken en voor de Baktus of de rechte sjaal gaan! Houden jullie me op de hoogte? Ik ben dol op foto's! Mail ze of deel ze op social media en tag me met #jellinacreations Ravelry
1 Comment
Leave a Reply. |
