|
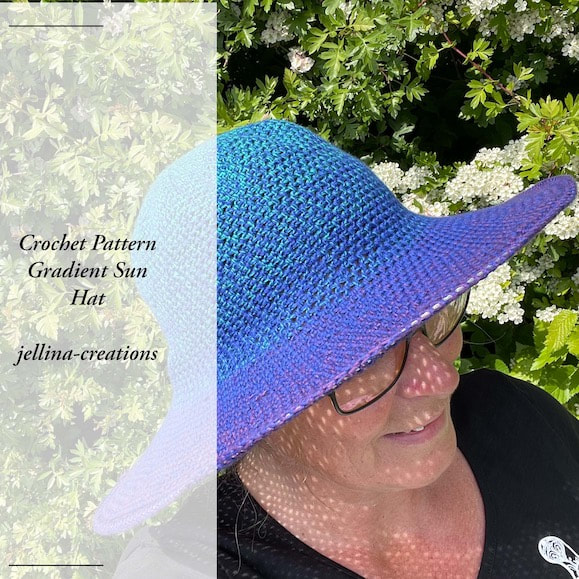
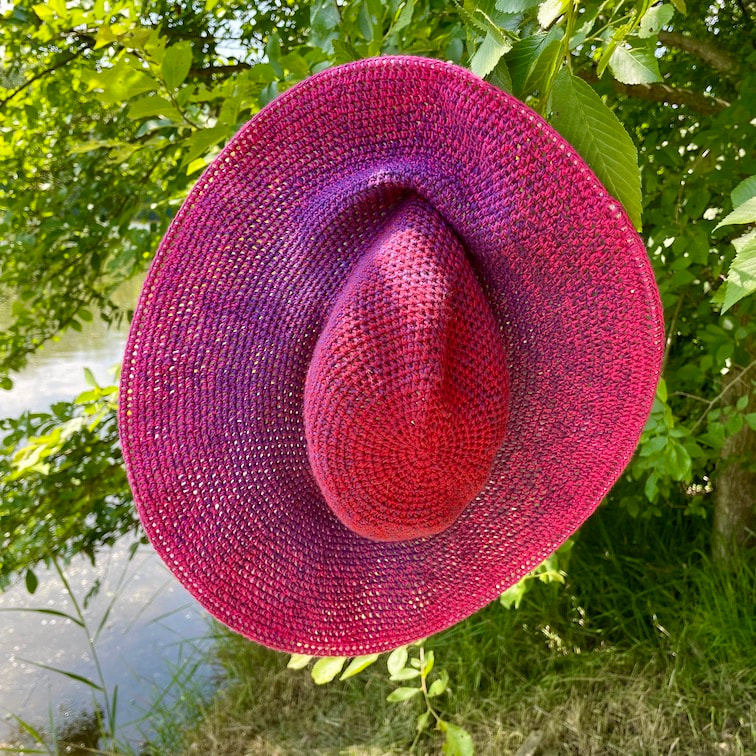
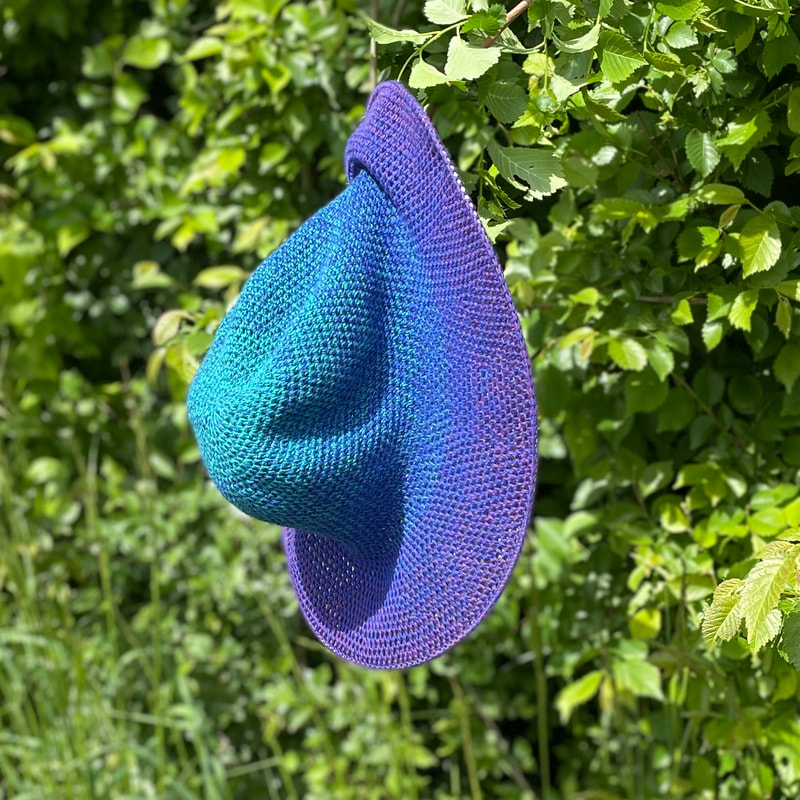
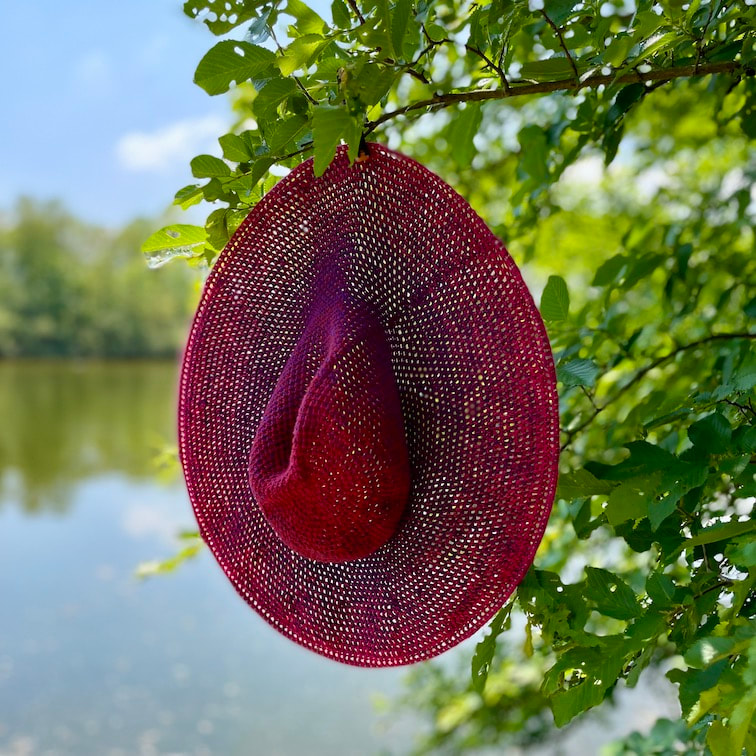
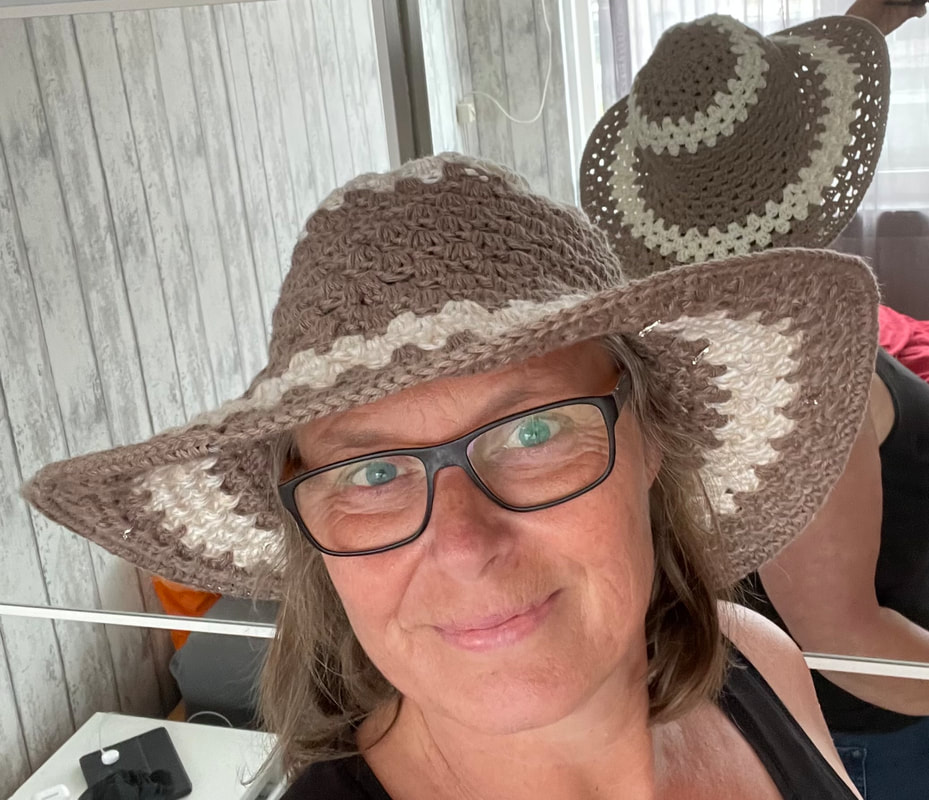
For this hat, you can conveniently use a leftover (Scheepjes) Whirl, because you will get a nice colour gradient. If you would buy a new ball for this, you can easily make 2, maybe even 3 hats with it! They will all turn out a little different! Of course you can also make this hat with any other yarn. Just make sure that the thickness of the yarn is the same (100grams/455meter) ----------------------------------- Deze hoed is uitermate geschikt voor een restje (Scheepjes) Whirl, vanwege het mooie kleurverloop wat je dan krijgt. Wanneer je een nieuwe bol hiervoor aanschaft kun je er zeker 2 hoeden en misschien zelfs 3 uitmaken en het leuke is dan dat ze alledrie verschillend zijn! Maar heb je geen Whirl, dan kun je deze hoed ook van elk ander garen maken, houdt dan wel rekening met de dikte van het garen. (100 gram/455meter) . I made 2 versions, for both you keep the same pattern. The difference is in the crochet hook. The sizes do not differ much from each other, there is just a little more stretch in the hat with the 3.5 mm needle, it is crocheted slightly looser. Required for ‘big hat’ 75 grams of Whirl Crochet hook 3.5 121cm steel wire, 2mm in diameter Sturdy pincers to cut this Measuring tape Scotch tape Required for ‘small hat’ 70 grams of Whirl Crochet hook 3.0 118cm steel wire, 2mm in diameter Sturdy pincers to cut this Measuring tape Scotch tape ------------------------------------- Ik maakte 2 versies, voor beide houd je hetzelfde patroon aan. Het verschil zit in de haaknaald. De maten verschillen niet heel veel van elkaar, er zit net wat meer rek in de hoed gehaakt met de 3.5 mm naald, deze is iets losser gehaakt. Nodig voor ‘grote hoed’ 75 gram Whirl Haaknaald 3.5 121 cm staaldraad, doorsnede 2mm Stevige tang welke dit draad kan knippen. Centimeter. Plakband. Nodig voor ‘kleine hoed’ 70 gram Whirl Haaknaald 3.0 118 cm staaldraad, doorsnede 2mm Stevige tang welke dit draad kan knippen. Centimeter. Plakband. ProblemI found this sun hat’s magic online. Because I myself have a small head (56cm) I’m forced to buy kids hats. I like women’s hats more though, so sometimes I go out and buy one. Of course, with even the smallest of breezes, my hat finds a way to get blown off. As some of you might know, we own a boat. That combination is not really that great. Because of this, I often try to make a sun hat for my own measurements. This however never turns out exactly like you’d wanted it to turn out. You’re looking for a sun hat with a nice broad brim which doesn’t sag. Sagging has a nice effect, but it doesn’t have a purpose with sun hats. Then I saw someone on FaceBook sending links to different sun hats. Thinking back to my creations, I clicked the link and found the solution to my problem! Here is the link to the website (by Jess Coppon) I found the solution! ------------------------------ De magie van deze zonnehoed vond ik online. Omdat ik zelf een klein hoofd heb (56cm) ben ik altijd aangewezen op kinderhoedjes. Omdat ik ‘grote mevrouwen hoeden’ toch wel leuker vind, laat ik me soms verleiden er toch 1 te kopen. Maar ik moet dan wel constant op me hoede zijn voor wind, want 1 zuchtje en hij waait weg. En voor wie weet dat wij een boot hebben, is dat absoluut niet ideaal. Dus ik probeerde regelmatig zelf een zonnehoed op maat te maken maar dan loop je toch tegen een dingetje aan die ervoor zorgt dat het net niet is wat je voor ogen had. Je wilt een zonnehoed met een mooie brede rand die niet inzakt, dat kan ook heel leuk zijn maar dan heeft hij geen functie als zonnehoed. Toen zag ik op Facebook dat iemand linkjes plaatste naar verschillende zonnehoeden, en met mijn probeersels in mijn achterhoofd klikte ik erop en hier vond ik de oplossing voor mijn probleem! Hier vind je de website van Jess Coppon, waar ik mijn ispiratie vandaan haalde! SolutionSteel wire in the last row! Brilliant. I went looking through my closet and found one of the hats. I then went looking for some steel wire in the shed. After some searching (and a text to my husband) I found it. I cut the wire to the right size (which was unexpectedly hard) and then crocheted it in the last row with single crochets and it worked! My sun hat, crocheted in granny stitch which made the rim very fluffy, was transformed in a real women’s hat! After this succesful experiment, I wanted more. I made the granny hat with Scheepjes Mighty as I thought I needed the firmness of the yarn for a sturdy rim. But now that I’ve got an alternative for this sturdy rim, i could make hats from any material that I wanted! My gaze fell upon a leftover bit of Whirl. Initially because if the beautiful gradient, but the fact that it has lots of meters and the material makes it ideal for summer. I started playing around a bit and ended up with this design! I crocheted the first one with a crochet hook 3.5, which I always use for Whirls. However, this hat turned out a bit too large for my taste. The second one was made with crochet hook 3.0, which made it turn out a bit smaller and more rigid. As for the stitch, I didn’t want to make it too difficult. I chose for a half double crochet, which is crocheted inbetween the half double crochets of the previous row. This stitch is great to do and both the inside and the outside look wonderful! Moreover, it’s also tight enough to block the sun, while it’s still airy so that you won’t get too hot. So yeah, steel wire. You can get this at your local hardware store. There are different sizes. In the granny hat I used the plasticized variant. This is thicker, but still invisible as the yarn is also thicker. For my Whirl hats I went to the store, because you really need a thinner wire. The thinnest one at the store was 2 mm (for 50cents per meter) and it worked like a charm. The advantage of using steel wire is that you can easily put the hat in your (beach)bag. When taking it out, it simply jumps back into its shape! Do noy try this with a strawhat ;) ---------------------------------------------- Staaldraad in de laatste toer! Briljant. Ik dook mijn kast in en vond 1 van de hoedjes, daarna dook ik de schuur in voor wat staaldraad, Dit kon ik niet vinden maar na een apje naar mijn man had ik ook dit op mijn werktafeltje liggen. Draad op maat geknipt (dit valt nog niet mee) en omhaakt met vasten en voila het werkte! Mijn zonnehoedje, gehaakt in de granny steek waarbij de rand dus erg fluffy was, was veranderd in een echte ‘grote mevrouwen hoed’ Dit smaakte naar meer, want ik haakte de granny hoed met Scheepjes Mighty omdat ik dacht de stevigheid van dit garen nodig te hebben voor een stevige rand. Maar nu ik een alternatief had gevonden voor deze stevige rand kon ik de hoed in allerlei materialen maken. Mijn oog viel op een restje Whirl, Whirl heeft een prachtig kleurverloop, heeft veel meters en het materiaal is ideaal voor de zomer. Dus ik ben hiermee gaan spelen en kwam tot dit ontwerp. De eerste haakte ik met haaknaald 3.5 (waarmee ik altijd met Whirl haak) maar deze werd toch net iets te groot. De tweede haakte ik met haaknaald 3.0 en deze werd net iets steviger en iets kleiner Als steek wilde ik het niet te moeilijk maken, ik koos voor een half stokje gehaakt tussen de halve stokjes van de vorige toer. Ik vind dit een heerlijke steek en bovendien is hij zowel aan de binnenkant als ook aan de buitenkant erg mooi om te zien. En dicht genoeg om weinig zon door te laten, maar luchtig genoeg om niet te warm te worden. Staaldraad dus Het staaldraad haal je in de plaatselijke bouwmarkt, je koopt dit per meter. Je hebt hiervan verschillende soorten. In de granny hoed zit een geplastificeerde variant, deze is iets dikker maar dat valt niet op omdat dit garen ook dikker is. Voor mijn Whirl hoeden ben ik naar mijn plaatselijke bouwmarkt gegaan want hiervoor had ik wel iets dunner draad nodig. Het dunste wat ze hier hadden was 2mm (a 50 cent per meter) en dit was prima. Het voordeel van het gebruik van staaldraad is dat je je zonnehoed gewoon in je (strand) tas kunt stoppen, wanneer je hem eruit haalt plopt hij weer mooi in model. Probeer dit niet met een rieten strohoed ;)
|

