|
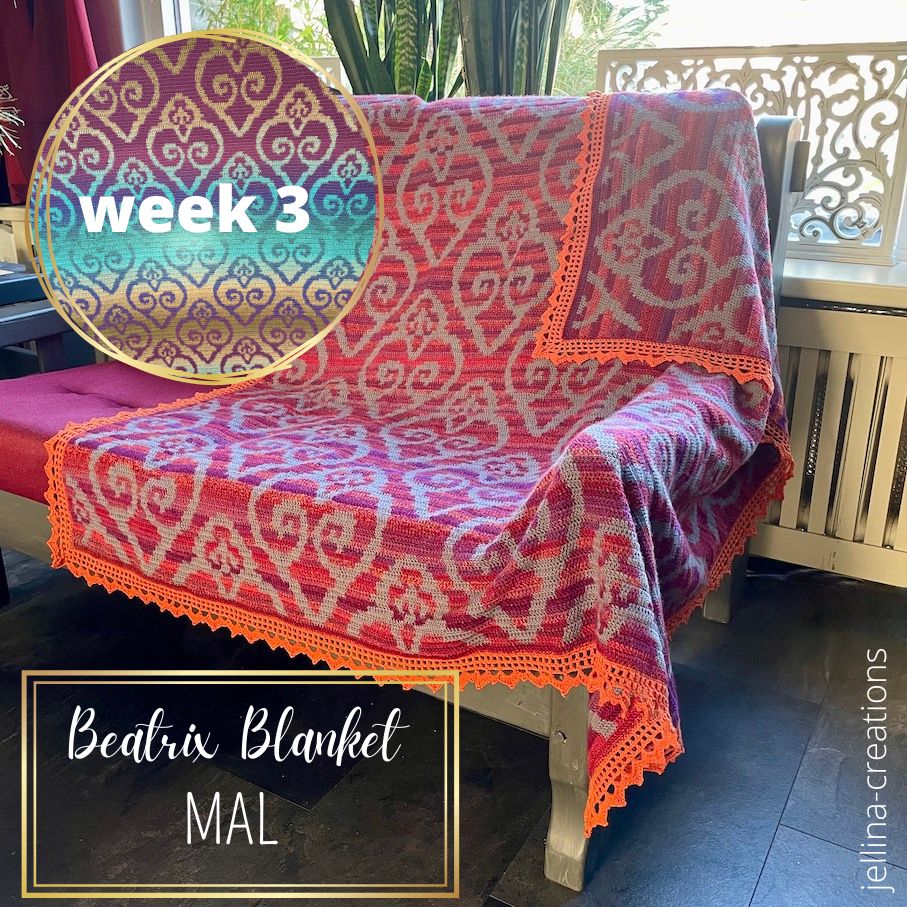
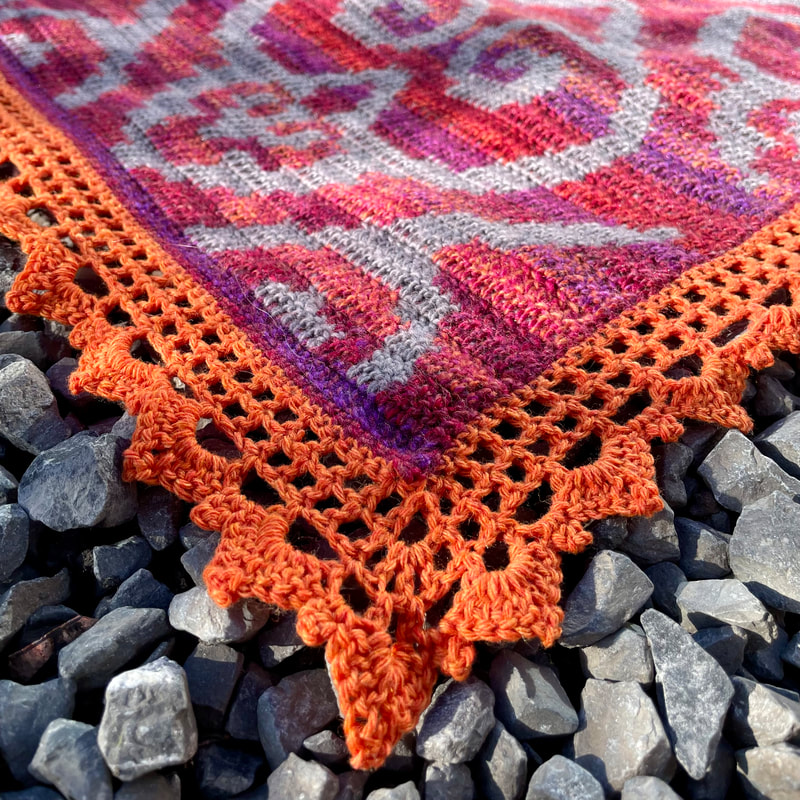
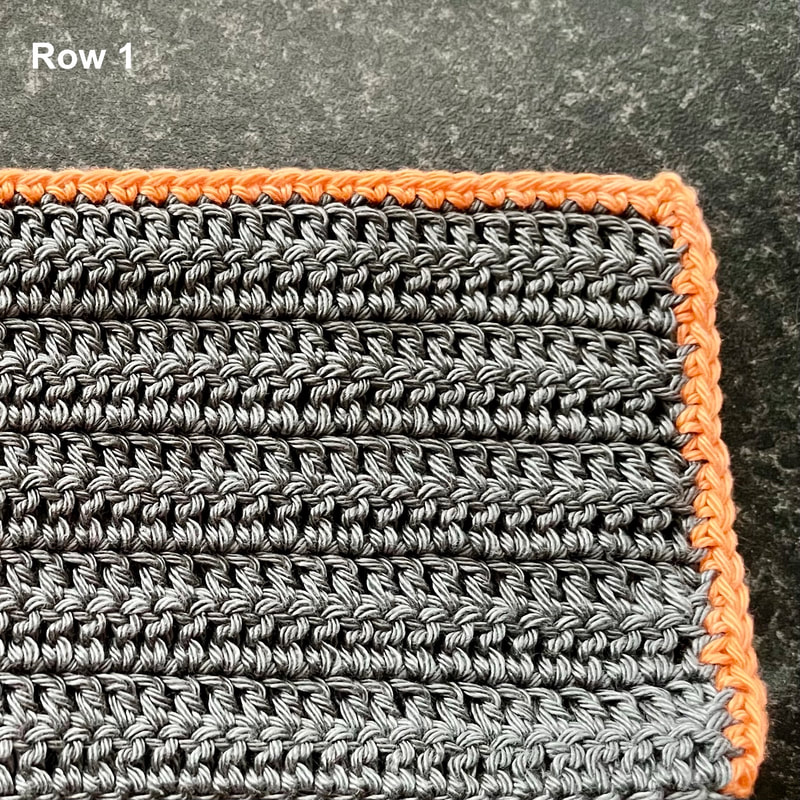
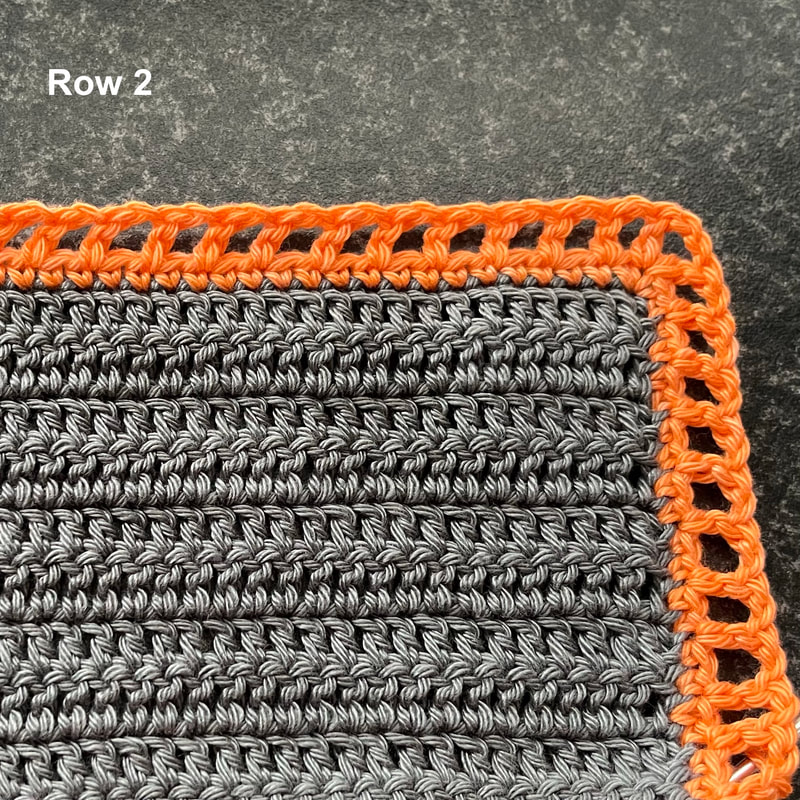
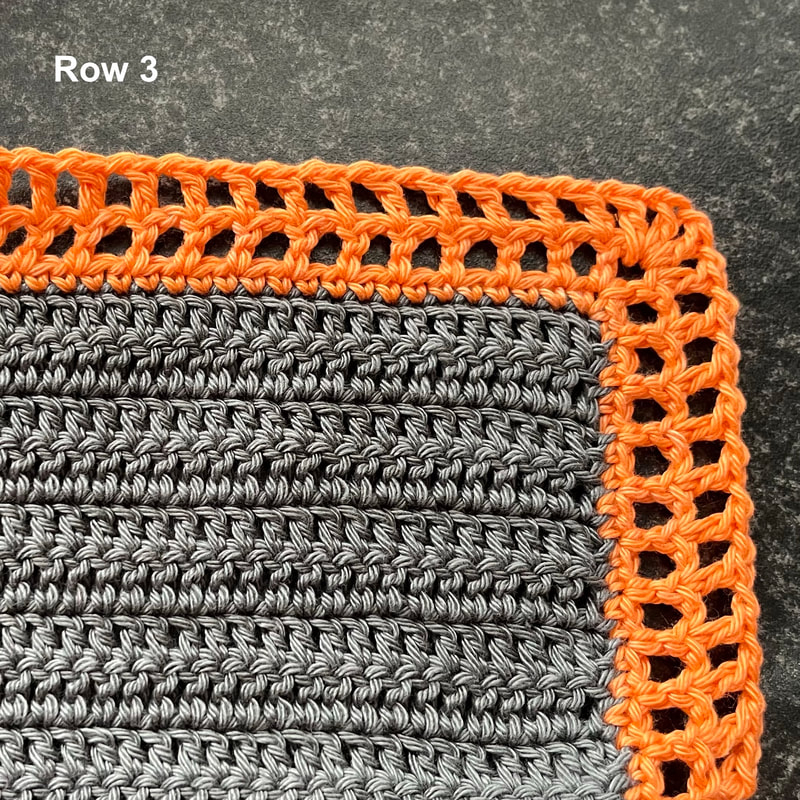
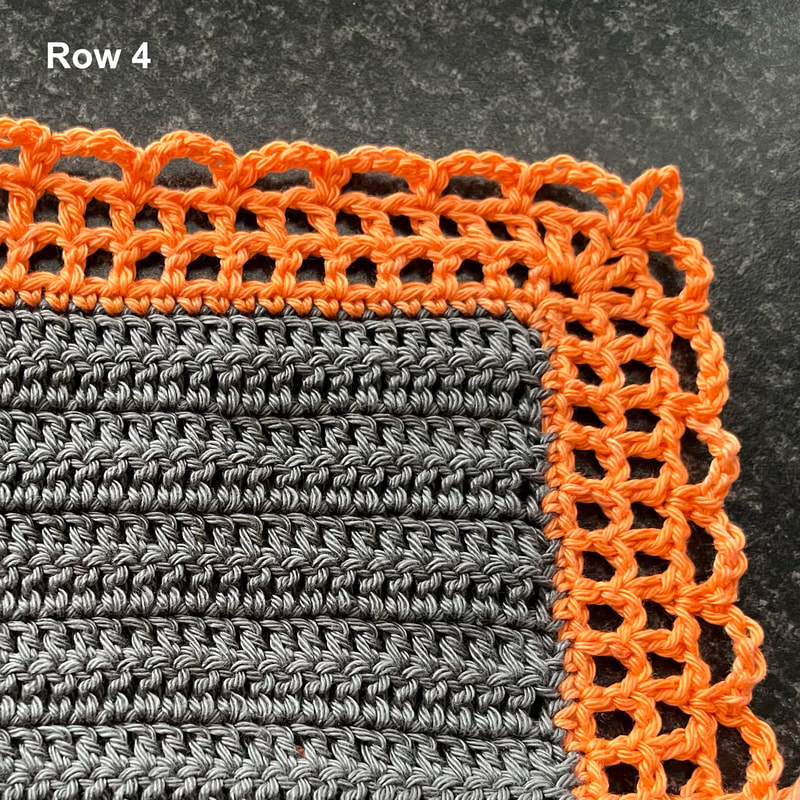
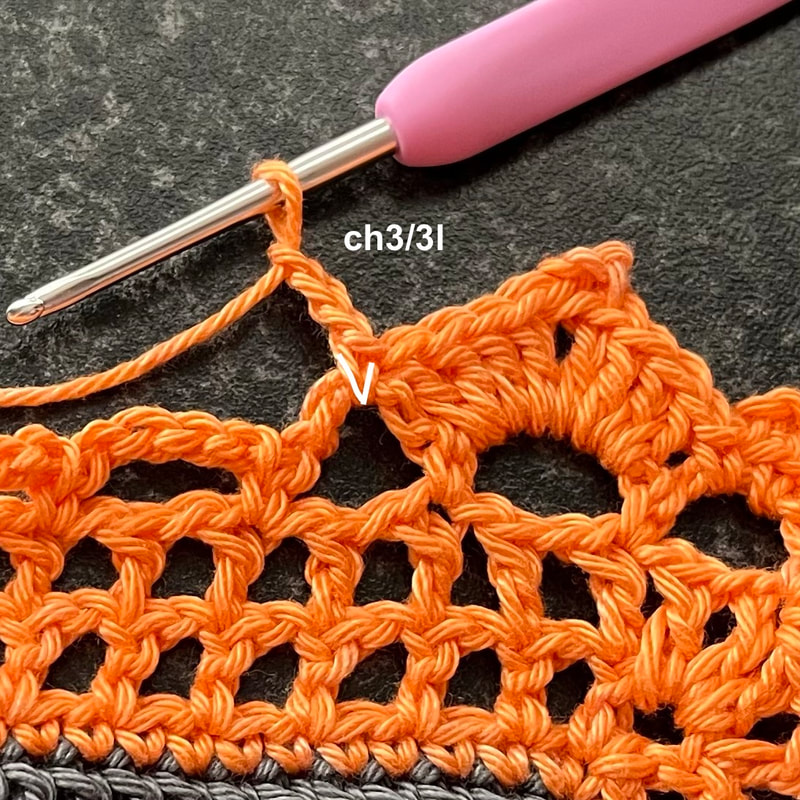
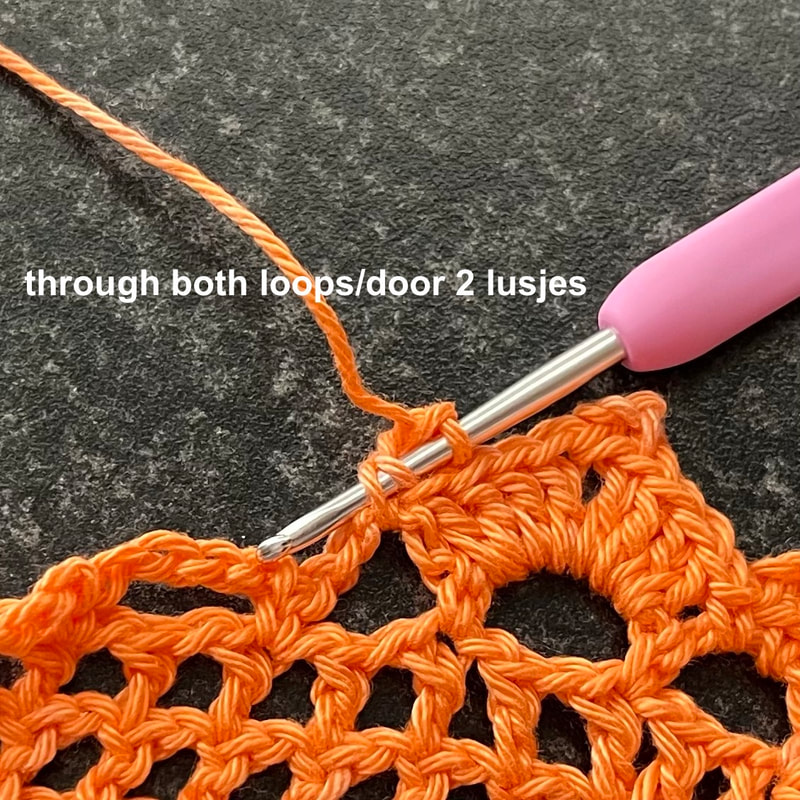
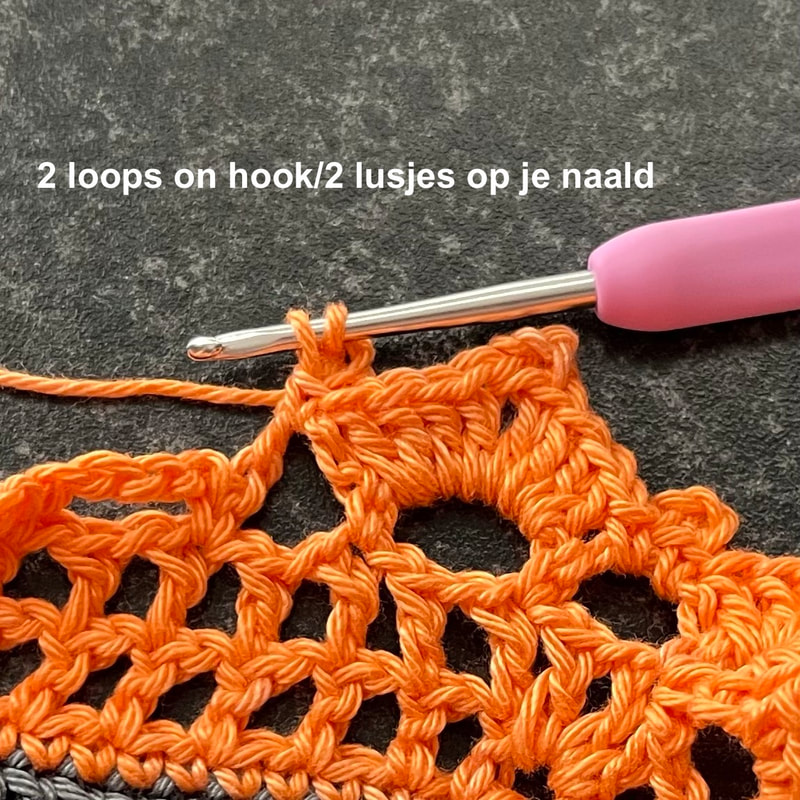
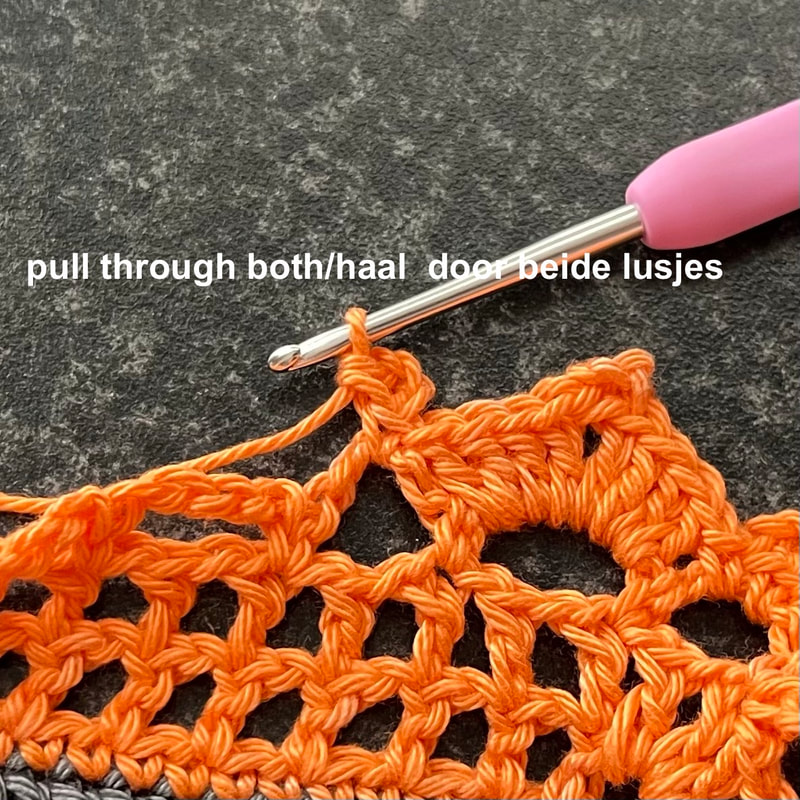
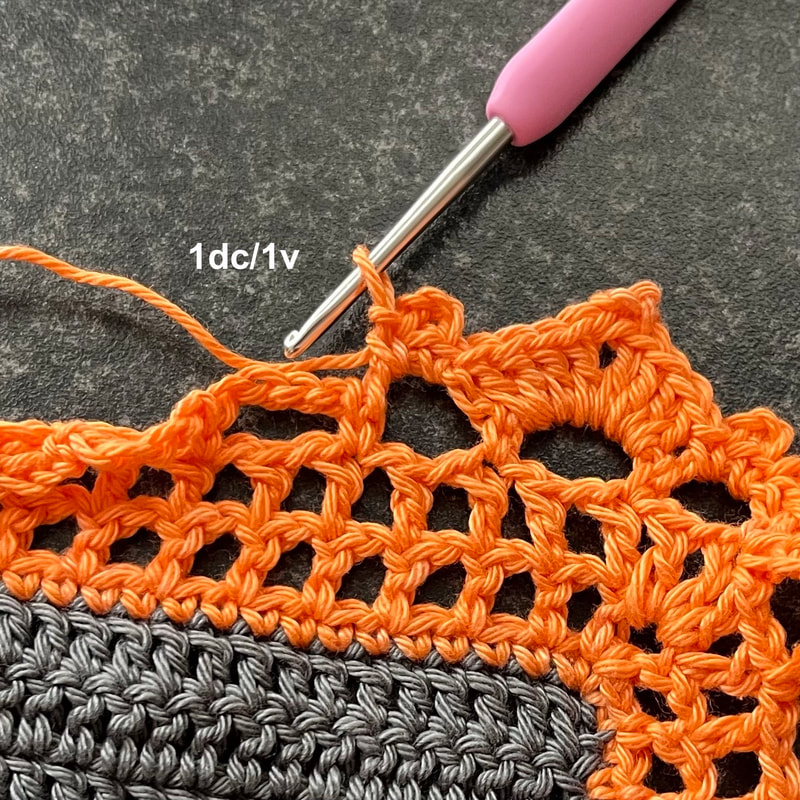
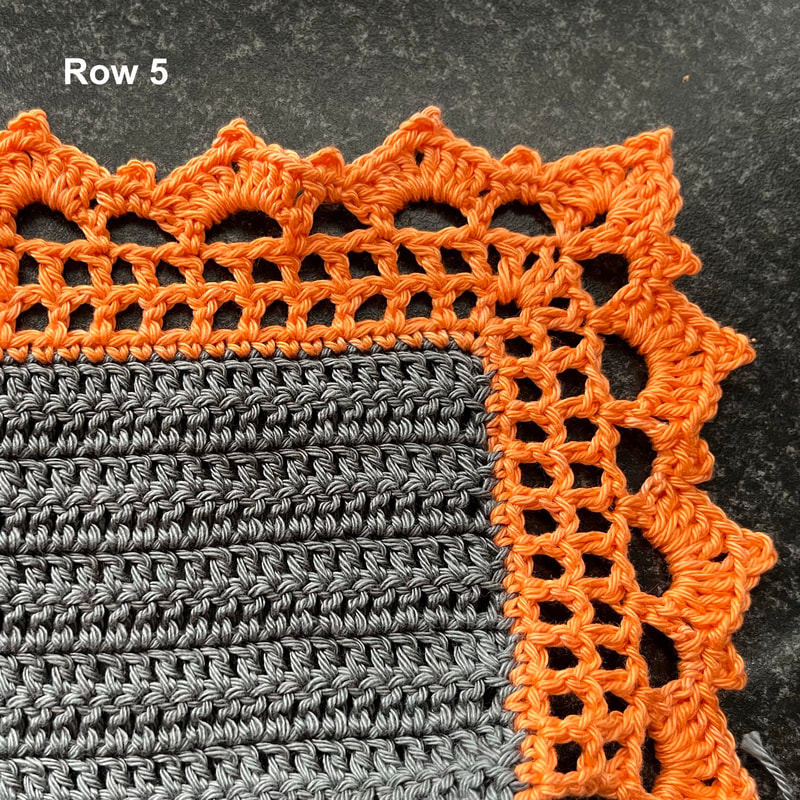
Hi and welcome, it is week 3 of the Beatrix MAL already, I am really enjoying all your beautiful blankets! This week I want to pay particular attention to the border. The early starters may already be ready for this and those who are doing it at their own pace can already check this out so that they know what to expect. First I would like to say that there is an errata for the edge, you can download it here and print it out so you can keep it in your Yarn Bookazine. --------------------------------- Hoi welkom, week 3 alweer! Wat geniet ik toch van al jullie mooie dekens! Deze week wil ik vooral aandacht besteden aan de rand. De snelle starters zullen hier misschien al aan toe zijn en voor degene die het in hun eigen tempo doen kunnen dit alvast bekijken zodat ze weten wat hun te wachten staat. Als eerste wil ik nog even zeggen dat er een errata is voor de rand, deze kun je hier downloaden en eventueel uitprinten zodat je deze in je Yarn Bookazine kunt bewaren. Points of attention for crocheting the border Round 1 You have a lot of dc's to crochet for round 1, for the top and bottom this is not such a problem because you already crochet these in a stitch, but for the sides it is a matter of counting well and follow the (corrected) pattern. Use stitch markers for this if necessary. It is important to have the right amount of stitches to be able to crochet all the bows later. So turn off Netflix, your music or audiobook and please focus on this row. This one is the most important one! -------------------------------- Aandachtspunten voor het haken van de rand Toer 1 Je hebt erg veel vasten te haken voor toer 1 en voor de boven en onderkant is dit niet zo'n probleem want deze haak je al in een steek, maar voor de zijkanten is het een kwestie van goed tellen en het (gecorrigeerde) patroon volgen. Gebruik hiervoor eventueel stekenmarkeerders. Het is belangrijk om de juiste hoeveelheid steken te hebben om straks alle boogjes te kunnen haken. Dus zet Netflix, je muziek of luisterboek uit en concentreer je goed op deze rij. Rounds 2 and 3 are not that much of a problem I think. Keep in mind that in Round 2 you work in the corners: trebble crochet, chain 3, trebble crochet and in Round 3: trebble crochet, chain stitch, trebble crochet, chain stitch, trebble crochet. ------------------------------ Toer 2 en 3 zijn denk ik niet zo'n probleem. Houd er even rekening mee dat in Toer 2 je in de hoeken: stokje, 3 lossen, stokje haakt en in Toer 3: stokje, losse, stokje, losse, stokje. Round 4 The first part may seem complicated, but just follow the instruction and you will see that it is not that bad. This is necessary to get to the right position for the arches. ----------------------------------- Toer 4 Het eerste stukje lijkt misschien ingewikkeld maar volg gewoon de instructie dan zal je zien dat dat erg mee valt. Dit is nodig om op de juiste positie uit te komen voor de boogjes. Round 5 The last row! When I see that a pattern has picots I usually give up. I don't like crocheting picots, but this blanket really needed them. I went looking for a nicer way of crocheting picots, and I think it worked, so I'm sharing it with you. Below is a video and a photo tutorial: ---------------------------------- Toer 5 De laatste toer! Zelf haak ik af als ik zie dat een patroon picootjes heeft. Maar deze deken had echt picootjes nodig, dus ik ging op zoek naar een wat fijnere manier van picootjes haken. En ik denk dat dat gelukt is dus ik deel het met jullie. Hieronder een filmpje en een foto tutorial: Those were my tips that I wanted to share with you this week! I hope it was clear and that you can get started with the edge. Share your progress in the Facebook Group! Next week is the last week and then I will share blankets from some of you that are (almost) ready. But I will also reveal a new pattern, so if you're already done with the Beatrix Blanket, don't worry, I'll make sure you can continue crocheting. I can already reveal that it is also a blanket, but in a different technique. This time I started working with the mosaic technique. But more on this next week, see you then! ------------------------------- Dat was het voor deze week! Ik hoop dat het duidelijk was en dat jullie aan de slag kunnen met de rand. Deel vooral jullie vooruitgang in de Facebook Groep! Volgende week is het de laatste week en dan zal ik dekens van jullie delen die (bijna) klaar zijn. Maar ook zal ik een nieuw patroon onthullen. Dus ben je dan al klaar met de Beatrix Blanket, geen nood ik zorg voor voldoende haakplezier! Ik kan alvast onthullen dat het ook een deken is maar in een andere techniek, deze keer ging ik aan de slag met de mozaïek techniek. Maar hierover meer volgende week, tot dan!
0 Comments
Leave a Reply. |

